Since before the time of the ancient Romans, concrete has been a vital resource for use in the industrial and construction world. Over the last several years, however, concrete use has spilled over into the interior design world as well. Because of its price point, durability and variety, concrete floors are popping up all over commercial and residential locations. Whether the building owner is looking for that “unfinished” industrial chic look or just sees the practicality of inexpensive flooring, concrete floors have become all the rage.
Concrete surfaces are known for their hardness (no dropped egg is going to survive a tumble in a kitchen with concrete flooring, although, a great rug will help in that regard). They’re also known for their durability and versatility. From utilitarian finishes to texted, chic colors and designs, concrete surfaces can bring style to the most humdrum of locations. Of course, obtaining and maintaining that high sheen requires some work with concrete specific tools.
In order to get the finish you want, whether it is for a repair or a new floor, it is important to ensure the concrete is prepped properly prior to applying any finishing coats.
Remove Debris and Material
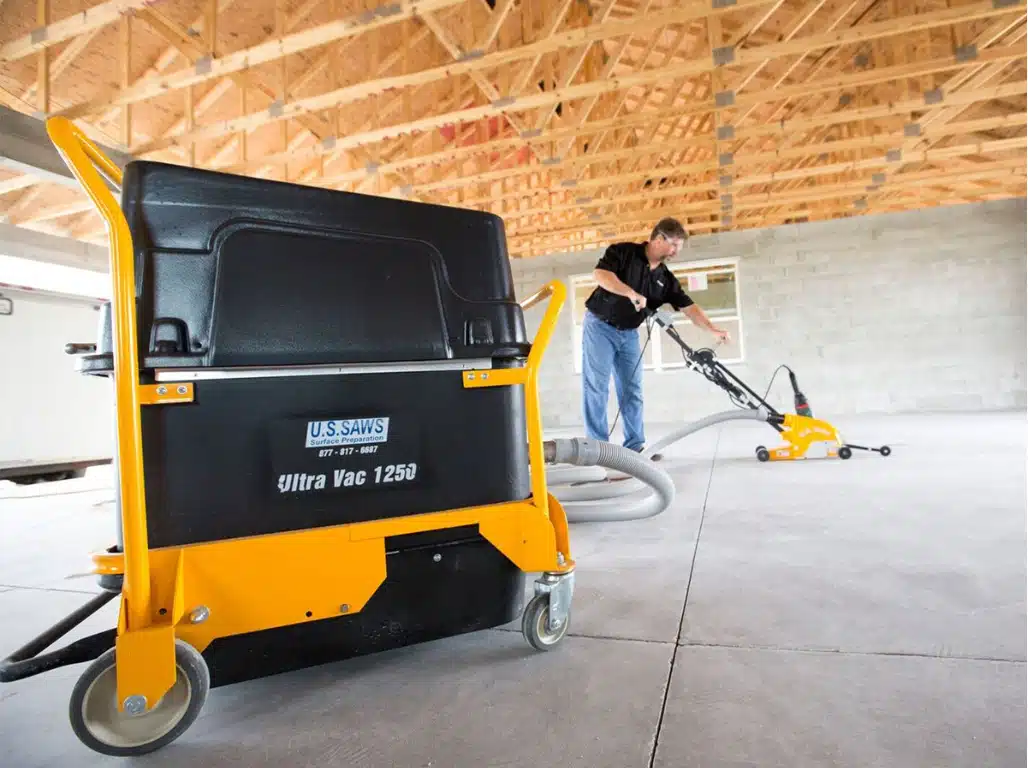
While concrete flooring is definitely a low-maintenance flooring option, there is some intense preparation that needs to be done to achieve and maintain that highly finished look. Surface preparation is the key to ensuring your concrete flooring finish lasts. The first step in proper surface preparation is to remove any debris or material that will affect the finished product. Initially, this can be done with a broom and vacuum, but the process doesn’t stop there. This work is done with concrete grinding tools and requires specific safety gear to protect the workers from hazardous fine dust particles that can get into their lungs. The purpose of the grinding is to remove any damaged or weak concrete from the slab. This also helps clean the surface of any oil or residues that may be on the concrete that would inhibit the finishing process. After the concrete has been ground down, it is important to roughen up the concrete with the right abrasive technique. Depending on the purpose of the flooring, there are several different techniques, such as acid etching, abrasive blasting, and water-jetting, that are used to roughen up the surface to ensure the sealants and overlays last. Once the concrete has been roughened up, you can go ahead and add your sealant and overlays.
Cleaning and Repairing Concrete
With so many daily stresses in our lives, it’s great to know one thing can be simple, and that is cleaning up concrete flooring. Tile flooring can get dirt and grime wedged in the grout in between the tiles. Carpets can stain due to spills and dirt, some of these stains wind up being permanent. Concrete flooring avoids all of these hassles. It is easy to clean and maintain and just requires some maintenance every few years. The properly finished concrete surface is resistant to water, stains, and abrasions. This makes cleaning up dirty pet paws or spilled drinks a breeze. Using a pH-neutral cleanser and avoiding harsh products like ammonia and bleach will help preserve the integrity of your finish. Harsh cleaners will degrade the finish and react with the concrete.
Repairing concrete is easy as pie too, with the right tools. A properly finished and well maintained concrete floor should last between eight and fifteen years. Sometimes, no matter how well-loved the floor may be, repairs will need to be made. The extent of the repairs will depend on whether the concrete surface issues are structural or aesthetic. Preparing the area for repair is an important step. All cracked and flaking bits of concrete need to be removed from the surface area. The original sealant will need to be removed. Dust, debris, and oils all need to be removed prior to starting any repair work. If you are repairing a crack in the concrete, it is important to remember that concrete shrinks, and your current concrete floor has already completed its shrinking cycle. You will want to ensure any filler you use to repair the cracks is a low shrinkage filler to ensure bonding does not fail. Once the crack(s) are repaired, treat the concrete surface again with whatever abrasive technique is proper for your particular flooring to roughen it up, and then reseal the floor and polish until it is as shiny as you want it.

Prevent Further Issues for Long Lasting Finish
In order to maximize the durability of your concrete surface, make sure to maintain it regularly. Removing and resealing the surface every few years will help prevent cracking. Ensuring you are not using harsh chemicals to clean your floor will help preserve the sealant and the shine. As the sealant is the top section of your flooring, this is where several eye-catching issues may arise. If you are doing the prepping and finishing the floor yourself, make sure to follow all manufacturers’ directions regarding sealants. Many issues, for example, bubbles in the surface, will become non-issues when you read the manufacturers’ instructions and learn the limitations of the product you intend to use. Preventing problems is much easier and less costly than having to solve problems.
U.S.SAWS is a leader in the concrete tool business, and their inventory of surface prep tools is versatile and extensive. Contact U.S.SAWS today to determine what tools you need to achieve that high gloss concrete finish.