Spall Repair and Joint Restoration: Save Time and Ditch the Jackhammer
08-04-2026 | By Dave Glynn | Featured
Look, we’ve all been there. You’ve got a spalled joint that’s more of a canyon than a crack. The old-school way involves a guy on his knees with a hammer and chisel, or worse, a jackhammer that ends up doing more damage than good. It’s slow, it’s back-breaking, and it’s a waste of man-hours.
If you’re ready to get off your knees and get the job done right, you need a workflow built for efficiency. Here’s how you restore a joint from start to finish without ever picking up a chipping hammer.
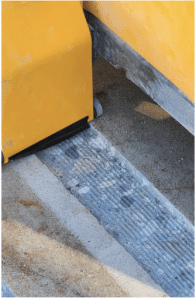
Step 1: Mill it Out (No Chipping Required)
The first step to a solid repair is getting down to clean, sound concrete. Instead of jackhammering, which causes micro-fracturing and ruins the bond, our milling machines remove the deteriorated concrete while leaving a perfect, textured surface.
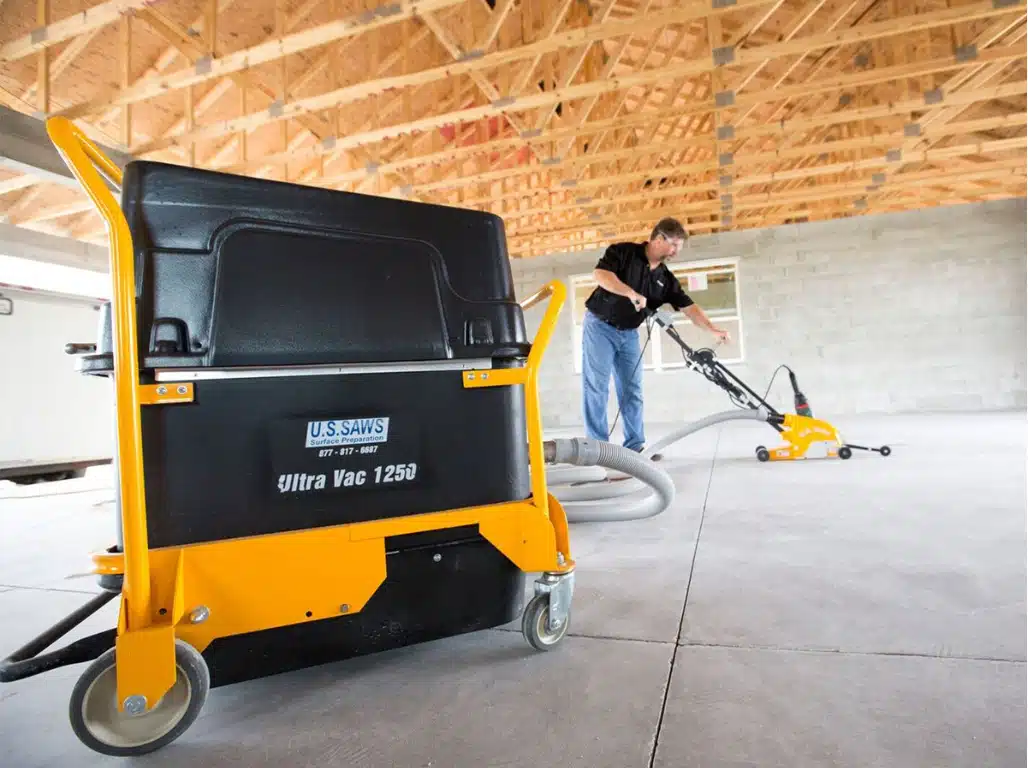
The MC-800 “Joint Hog”: This is the manual walk-behind workhorse for medium jobs and tighter spaces. It removes a path up to 4” wide and 1-3/4” deep in a single pass.
The MC-1000 Self-Propelled: For those massive warehouse floors or long-run industrial projects, the MC-1000 is the move. It takes the same milling power but puts it on a self-propelled chassis and can go up to 3” deep, so you can maintain consistent speeds over thousands of feet without the physical toll on the operator.
Both machines use an up-cut rotation that sends the millings straight into a specialized vacuum plenum, keeping the job site clean and OSHA-compliant.
Step 2: Restore with Armor-Hard
Once you’ve milled out the damage, you’ve got a clean, textured channel ready for repair. The standard for this is Armor-Hard, a high-strength, 3-component epoxy mortar kit.
Prep and Prime: Prime the side walls and the shelf of the channel with Armor-Hard Primer.
The Mix: Add the Hardener (Part B) to the Resin (Part A) and mix for 1-1/2 minutes. Transfer that liquid into a larger bucket, add the engineered sand, and blend with a slow-speed drill until all the sand is coated.
Fill and Compact: Trowel the mortar into the channel, leaving a little extra material for compaction. Apply heavy pressure to the surface to tightly compact the mortar. Pro tip: mist your trowel with denatured alcohol to help with the finishing process.
Grind Flush: Let it cure for approximately 6 hours at 70°F. Once hard, grind the overfill with a diamond cup or ceramic disc until the repair is flush with both slab panels.
Now you’ve got a repair that’s actually tougher than the surrounding concrete.
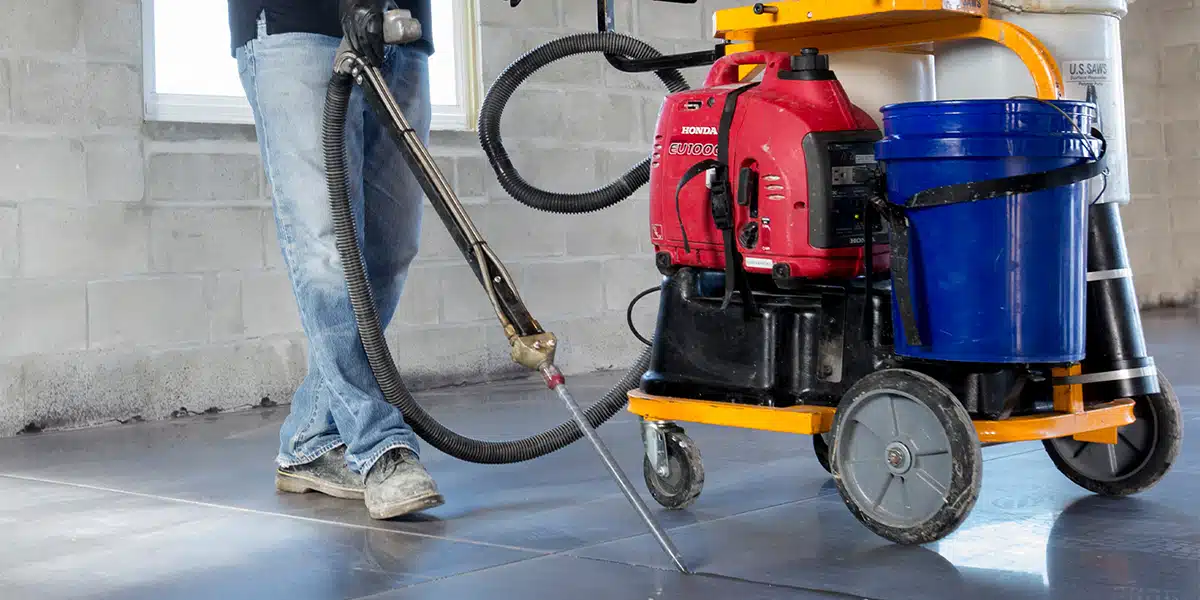
Step 3: Recut the Joint with Precision
Here’s where a lot of guys miss the mark. They fill the joint and call it a day. But concrete moves. If you don’t give it a place to crack, it’s going to find one. You have to recut that joint right back into the Armor-Hard to honor the original joint location.
Whether you prefer propane, gas, or electric, we have the right tool for the cut:
The Propane Powered JS-160:The professional standard for indoor warehouse work where power is limited but you need high production.
The JS-131 Gas Walk-Behind:A 11.7 HP Honda-powered beast that can cut up to 3” deep. It’s designed specifically for joint clean-out and precision concrete sawing.
All these saws are engineered to follow the original joint line with extreme accuracy. They use an up-cut rotation to kick dust out of the joint and into the vacuum port. Ensure your depth of cut exceeds the depth of the mortar so the slab can move properly.
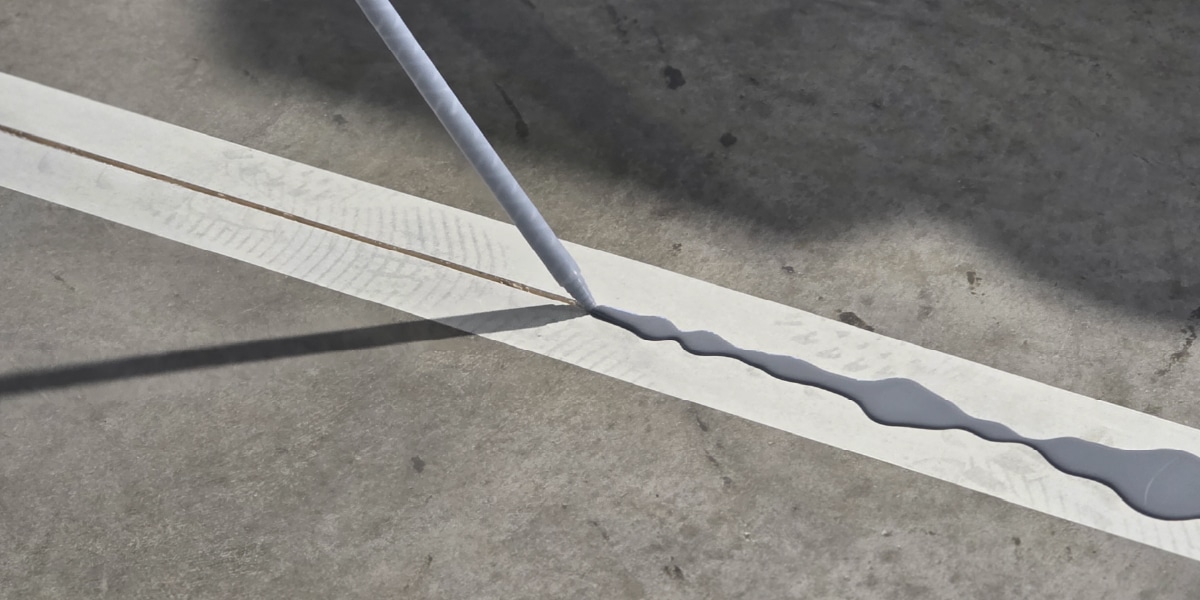
Step 4: Final Joint Filling
The final step in the restoration process is filling the newly cut joint with a permanent polymer filler. This is most efficiently handled using specialized dispensing equipment.
The One Man Polymer Pump: This machine is designed for true one-man operation, allowing the operator to control the pump’s position with one hand while dispensing filler with the other.
Enhanced Productivity: It features a “T” handle for left- or right-handed use and 6.5-gallon semi-transparent tanks that can accommodate a full 5-gallon pail of joint filler.
Cleanliness and Maintenance: A strapped waste bucket prevents drips on the floor during movement, while the diamond head manifold and three-bolt pump change system simplify cleaning and service.
Versatility: The unit can be operated cord-free using a deep-cycle battery and inverter or a small generator
The Bottom Line: Efficiency is the Profit
By using the MC series to mill the spall and a dedicated joint saw to recut it, you’re cutting your labor time in half. You aren’t just patching a hole; you’re restoring the floor to its original function—if not better. Stop wasting time with the hammer and chisel. Get the right tools, do it once, and move on to the next job.
Want to see these machines in action? Give us a call or visit the shop for a demo.